Using Globus at GMU ORC
Globus is a research data management service that provides fast, reliable, secure file transfer between two locations, for example, your laptop and the Hopper cluster, or Hopper and another institution's storage system. It handles large or high-volume transfers (megabytes to petabytes) far more robustly than tools like scp or sftp: transfers are automatically retried on failure, checksummed for integrity, and can run in the background even after you close your browser.
This guide covers everything most GMU ORC users need: logging in, moving data between your computer and Hopper, sharing data with collaborators, and troubleshooting common issues.
Key concepts
Globus uses a few terms worth knowing up front:
| Term | Meaning |
|---|---|
| Collection | A location Globus can move data to/from, e.g., Hopper's storage, your laptop, or a cloud storage account. (Older Globus documentation calls these "endpoints"; you'll see both terms used interchangeably.) |
| Mapped collection | A collection tied to your own login/credentials on that storage system (e.g., your Hopper account, or your computer via Globus Connect Personal). |
| Guest collection | A specific shared folder that you configure to grant other people access to, without giving them your credentials or full account access. This is how you share data with collaborators. |
| Globus Connect Personal | Free software that turns your personal computer into a Globus collection, so it can be a transfer source or destination. |
GMU ORC's Hopper cluster is reachable through the following collections:
DTN's or Data Transfer Nodes are servers optimized specifically for moving large datasets efficiently.
1. Logging in to Globus
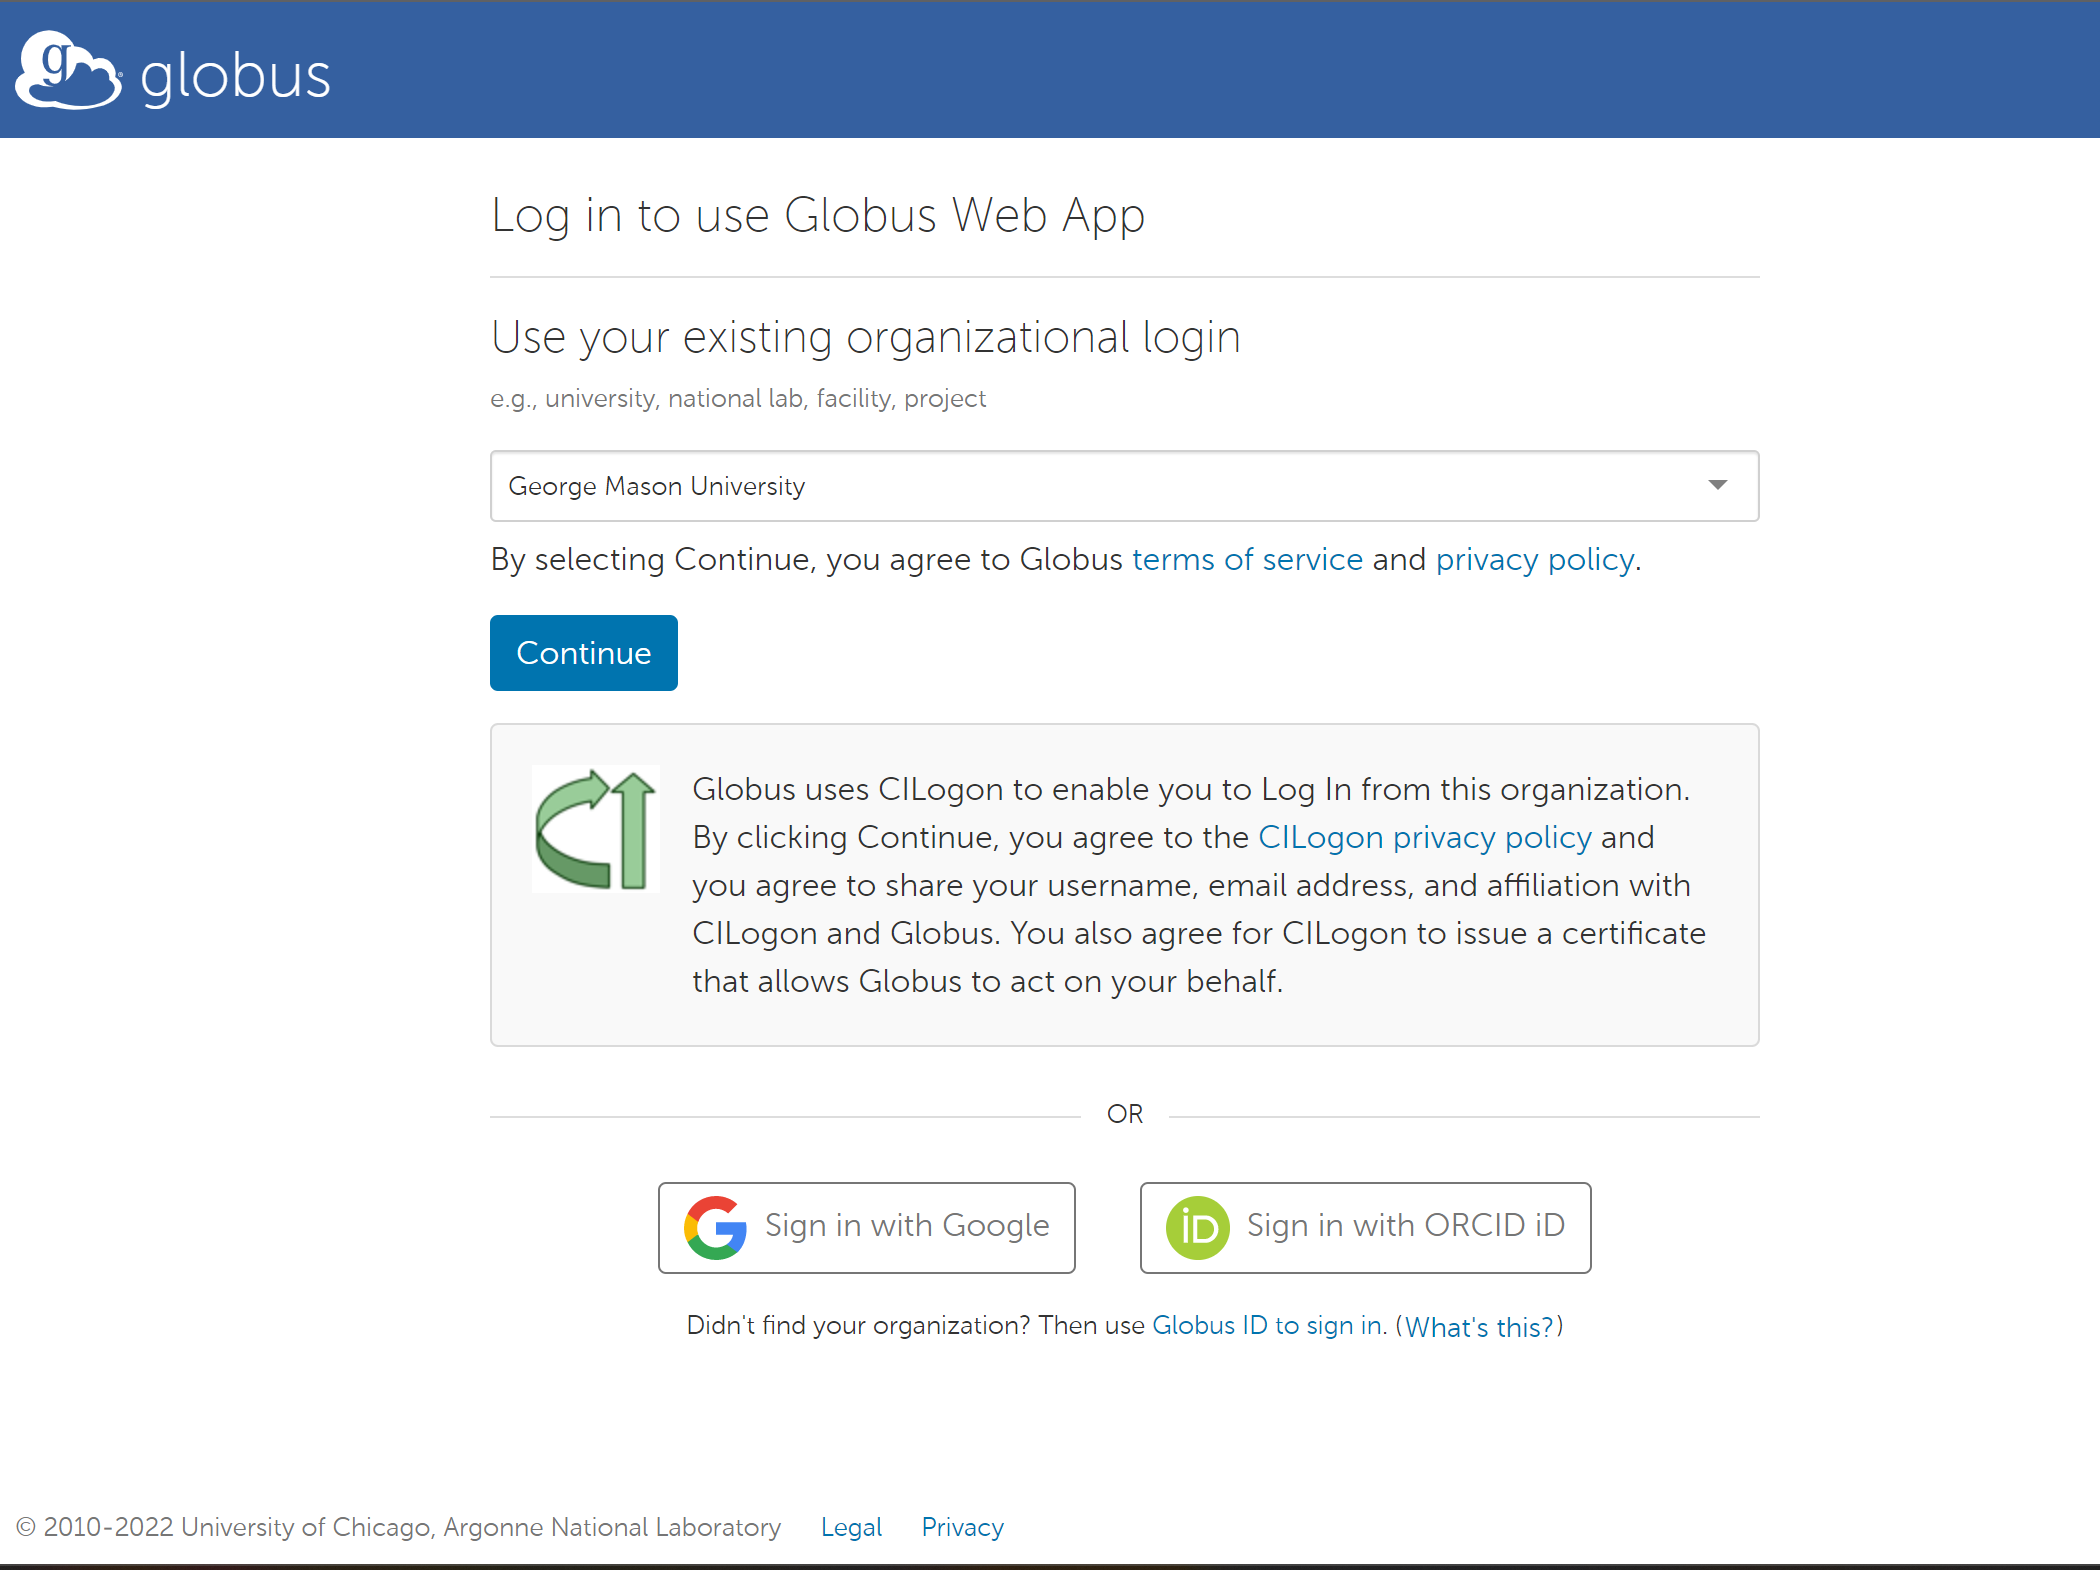
- Go to app.globus.org and click Log In.
- In the organization search box, search for George Mason University and select it.
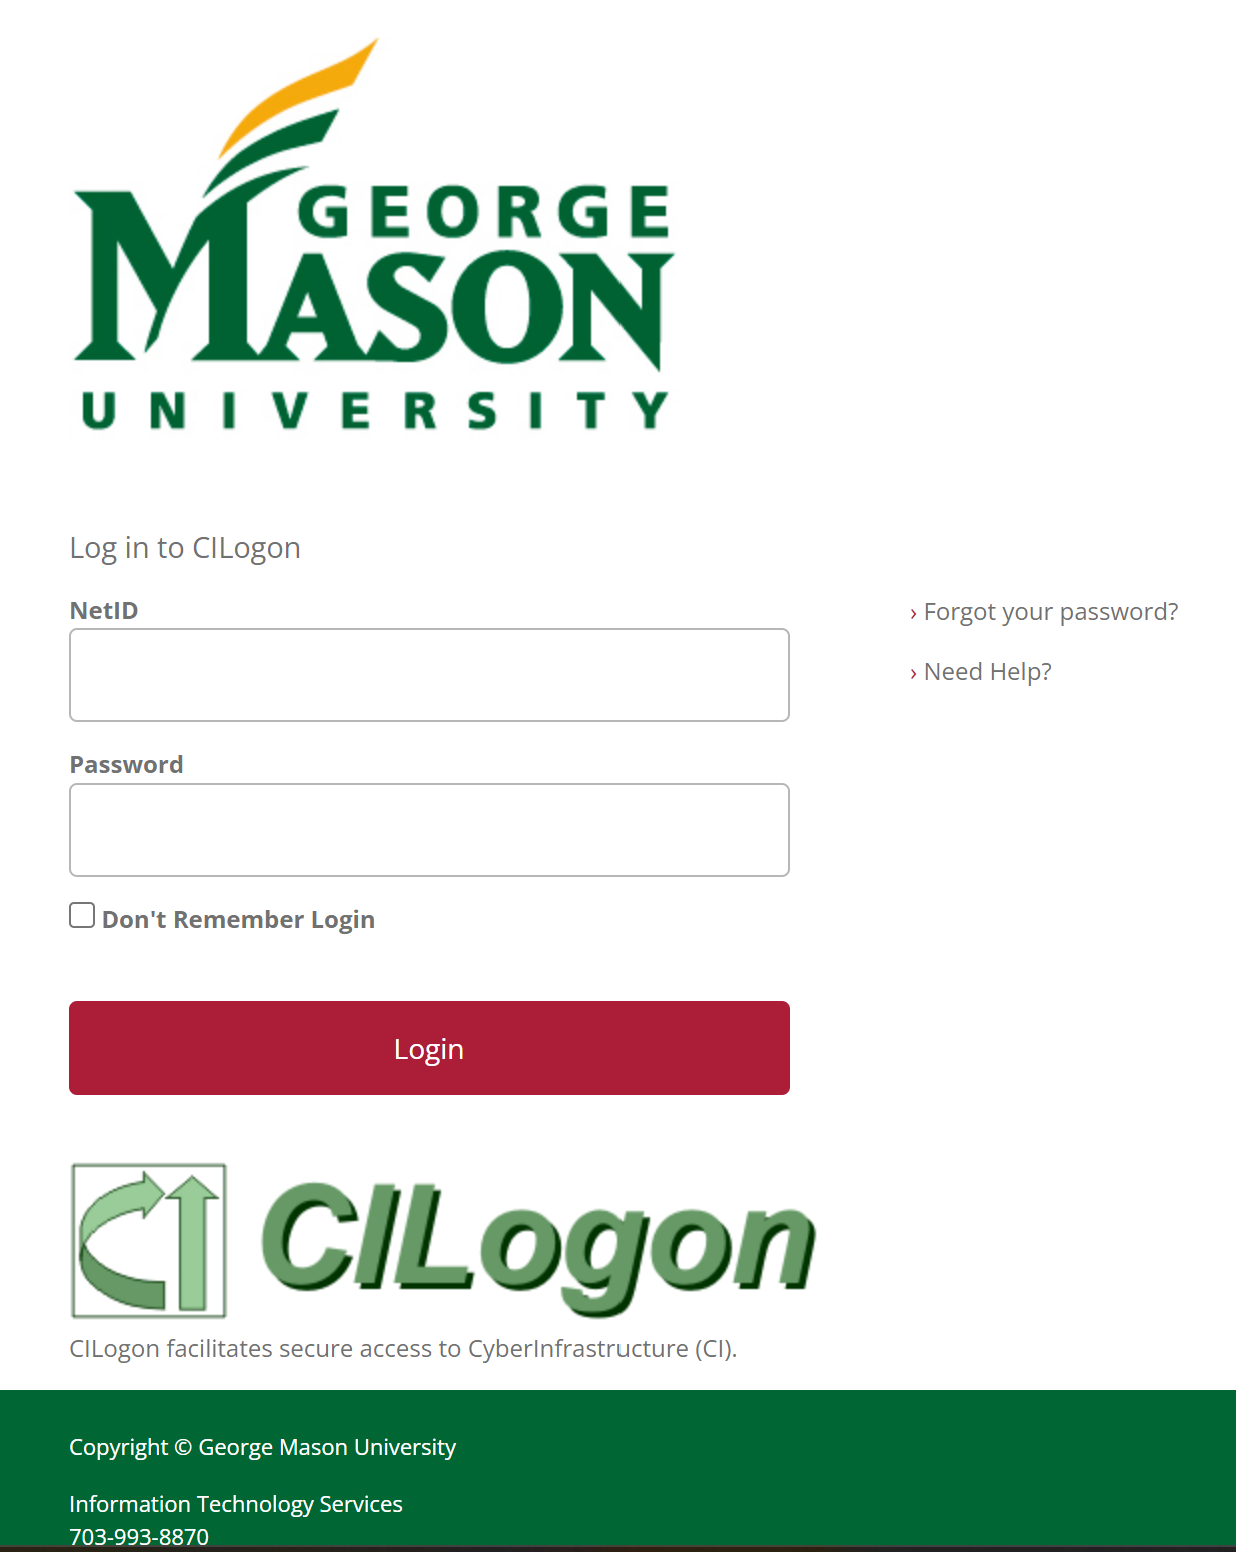
- You'll be redirected to Mason's federated login page. Sign in with your GMU NetID and password (and complete Duo/MFA if prompted).
- First-time login only: you'll be asked to accept terms of use and answer a few setup questions across one or more pages.
- Once logged in, you'll land on the File Manager page. This is the main screen for all transfers, and it is where you'll spend most of your time in Globus.
If you don't have a GMU NetID (e.g., an external collaborator), you can instead create a free Globus ID account at the login screen.
2. Transferring files between Hopper and your computer
To use your own laptop or desktop as one end of a transfer, you first need to install Globus Connect Personal, which registers your machine as a Globus collection.
Step 1: Install Globus Connect Personal
- Go to globus.org/globus-connect-personal.
- Download the installer for your OS (Windows, macOS, or Linux) and run it.
- When it launches, click Log In and authenticate with Globus (using your GMU NetID, as above).
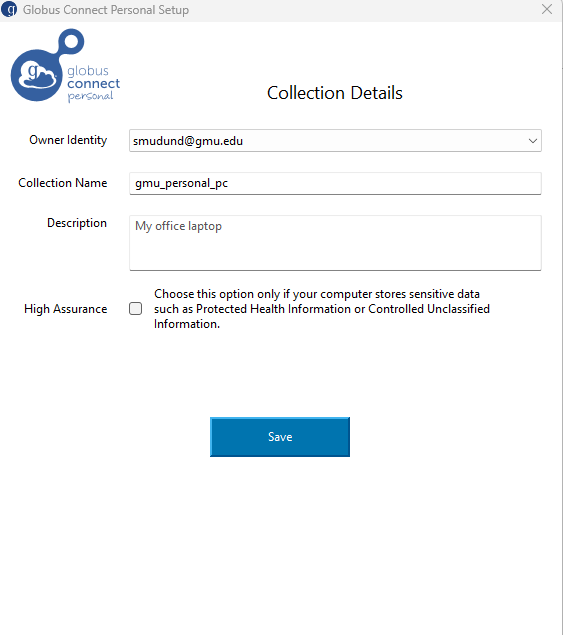
- During setup, you'll be asked to name your collection. Pick something memorable since you'll search for this name later (e.g.,
jsmith-laptop). - Choose which folders on your computer Globus is allowed to access. You can accept the defaults or customize this.
- Finish setup. Globus Connect Personal will keep running in the background (look for its icon in your system tray/menu bar). It must stay running any time a transfer is in progress.
Step 2: Start the transfer
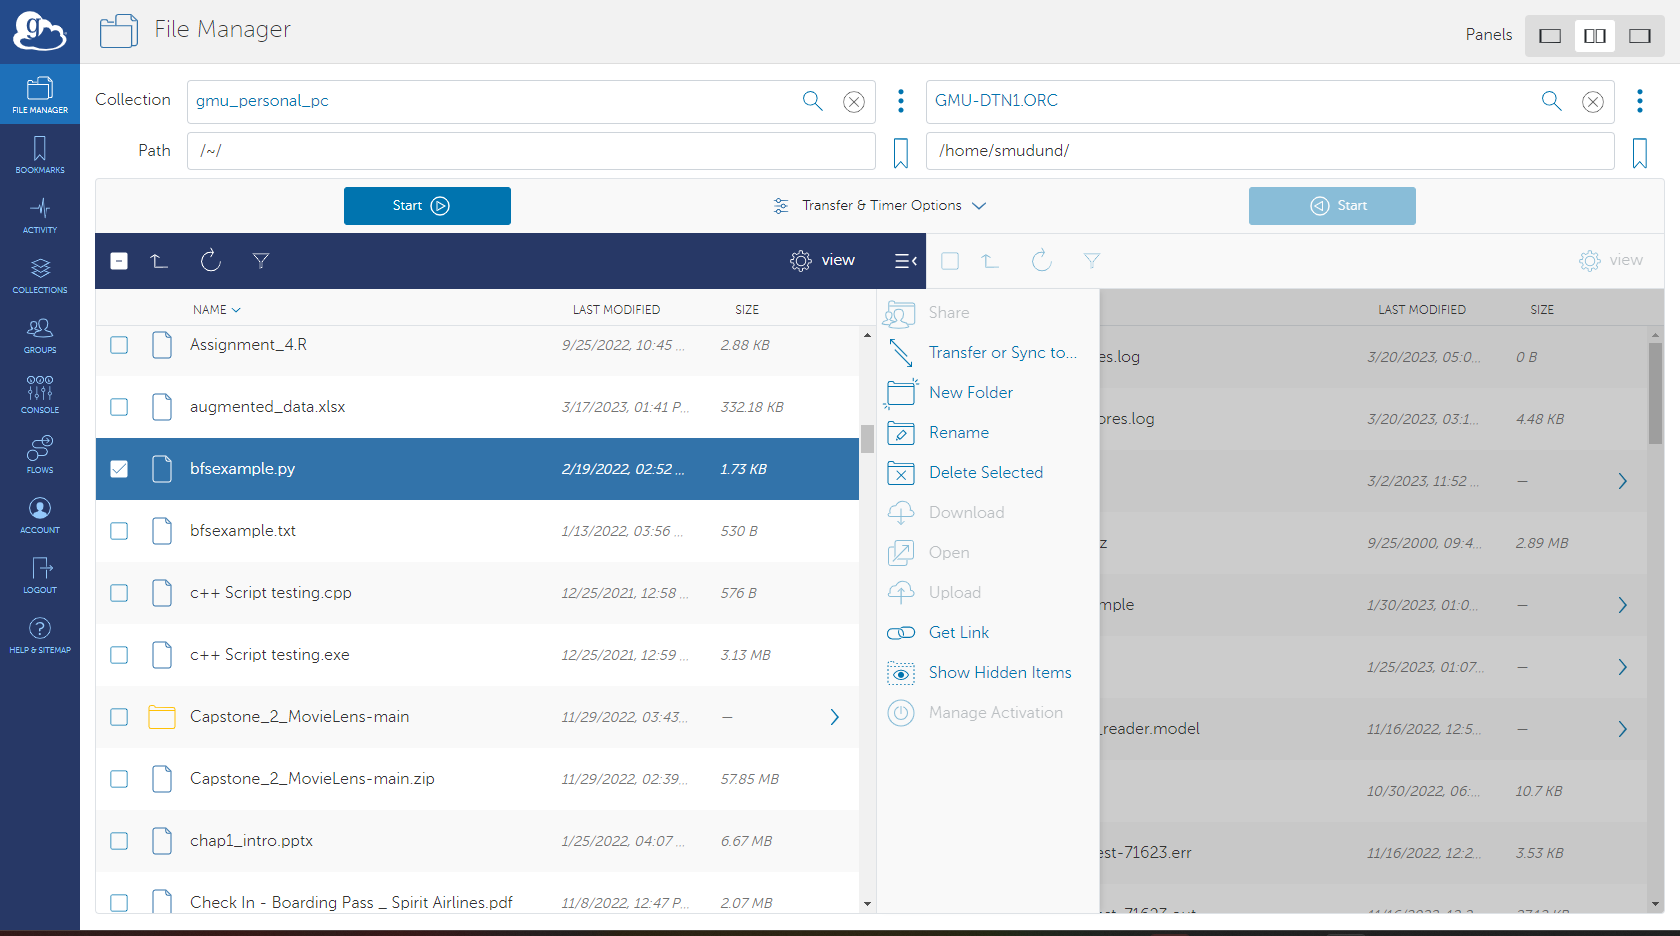
- In the Globus web app, go to File Manager and switch to the two-pane ("Panels") view if it isn't already active.
- In the left pane, type the name of your personal collection (the one you created in Step 1) into the Collection search box and select it.
- The first time you access it, you may be prompted to authenticate again.
- In the right pane, search for GMU-DTN1.ORC or GMU-DTN2.ORC and select it as the Hopper-side collection.
- Navigate each pane to the correct folder:
- The source pane: select the file(s) or folder(s) you want to move (check the box next to each item).
- The destination pane: browse to where you want them to land.
- Click the Start button (▶) at the bottom of the source pane.
- Track progress from the Activity tab in the left sidebar.
You'll receive an email notification when the transfer finishes (success or failure), so you don't need to keep the browser tab open.
3. Transferring files between Hopper and another cluster/institution
The process is nearly identical to the laptop transfer above, except both panes point to remote collections instead of your personal computer:
- In File Manager, search for and select GMU-DTN1.ORC or GMU-DTN2.ORC in one pane.
- In the other pane, search for the destination institution's or cluster's collection by name (e.g.,
NERSC DTN,Purdue Anvil). You may need to authenticate to that system if you have an account there. - Select files/folders on the source side, navigate to the target directory on the destination side, and click Start.
If you don't know the exact collection name for the remote system, ask that institution's HPC support team. Most publish it in their own Globus documentation.
4. Sharing data with collaborators
You don't need to give collaborators your NetID and password to share Hopper data with them. Instead, create a guest collection, which grants access to one specific folder only.
- In File Manager, navigate to (but do not enter) the folder you want to share.
- Click the Share icon in the right-hand toolbar.
- Click Add a Guest Collection.
- Fill in the form:
- Directory: confirm the folder path (should be pre-filled).
- Display Name: a clear, distinct name for the shared collection. This is visible to anyone searching Globus, so avoid duplicating names across shares.
- Optionally add contact info and enable Force encryption if you want data encrypted in transit.
- Click Create Collection.
- Go to the Permissions tab of the new guest collection and Add Permissions to grant access:
- Add a specific person by email/identity, a Globus group, all Globus users, or (rarely) the public.
- Choose read-only or read/write access.
- The recipient gets an email with a link. They can also find anything shared with them at app.globus.org/endpoints?scope=shared-with-me.
Important safety notes: - Globus does not enforce the underlying Unix file permissions of the shared directory tree. Anything inside the shared folder is fully readable (and writable, if you grant write access) by anyone with permission to the collection, regardless of the file's actual owner or permissions on Hopper. - Only place files you genuinely intend to share inside the shared directory tree. - Grant write access only to trusted collaborators. They will be able to add, overwrite, or delete anything in the shared folder. - You can revoke access anytime from the guest collection's Permissions tab (click the trash icon next to a user).
5. Advanced transfer options
Before clicking Start, the transfer setup screen offers several optional settings worth knowing about:
- Sync - only transfer files that are new or changed, useful for keeping two locations mirrored over time.
- Preserve source file modification times - keeps original timestamps instead of using the transfer time.
- Verify checksums after transfer - confirms data integrity (recommended for critical or irreplaceable data; slightly slower).
- Encrypt transfer = forces encryption in transit even on connections that wouldn't otherwise require it.
Globus also supports scheduled/recurring transfers via its Timers feature, useful for automated backups or periodic syncs (note: Timers are not supported for high-assurance collections).
6. Monitoring transfers
- Click Activity in the left sidebar of the web app.
- Each transfer shows:
- Status - Active, Succeeded, or Failed
- Transfer speed and progress
- Any per-file errors, if applicable
- Click into a specific transfer for full details, including a file-by-file breakdown.
- Email notifications for transfer completion/failure can be adjusted under Settings.
7. Troubleshooting
| Problem | Likely cause / fix |
|---|---|
| Collection won't activate / "login required" | Re-authenticate to that collection; check that you're not blocked by a VPN or campus firewall. |
| "Permission denied" on a file or folder | Verify your Unix permissions on that path on Hopper; Globus respects storage-system permissions on mapped collections (unlike guest collections, which do not). |
| My personal computer collection shows offline | Make sure Globus Connect Personal is actually running on your machine. It must stay open for the duration of any transfer. |
| Transfer seems stuck | Check the Activity tab for a specific error; very large transfers (many files, or huge total size) can simply take time. |
| Transfer is slow | Globus auto-tunes transfer parameters; performance depends on both endpoints' hardware/network and general contention. Transferring a few large files is much faster than millions of tiny ones. |
| Can't find a remote institution's collection | Contact that institution's research computing/HPC support team for their exact Globus collection name. |
8. Best practices
- Prefer Globus over
scp/sftpfor anything large. It's faster, resumable, and verifiable. - Transfer whole directories rather than large numbers of individual small files where possible.
- Let long transfers run in the background (you can close the browser tab; Globus Connect Personal must stay running if your computer is one endpoint).
- Use guest collections, not shared NetID/passwords, to give collaborators access to data.
- Turn on checksum verification for irreplaceable or critical datasets.
- Give guest collections clear, unique display names so collaborators (and you) aren't confused later.
Quick reference
Login: app.globus.org → George Mason University → GMU NetID/password
Hopper collections: GMU-DTN1.ORC, GMU-DTN2.ORC
Basic transfer flow: Log in → select source collection (left pane) → select destination collection (right pane) → select files → Start → monitor in Activity
Personal computer as an endpoint: Install Globus Connect Personal → keep it running during transfers
Share data: Navigate to folder → Share → Add a Guest Collection → set permissions
Additional resources
- Globus Getting Started guide
- Globus Connect Personal downloads
- Globus FAQ: Transfer and Sharing
- GMU ORC support: contact the Office of Research Computing for Hopper-specific access issues.